Sunday, January 10, 2010

Tot School: Week 1

Tot School

Logan played with bingo chips and containers. He could do this all day!


Nathan and Dylan made pizza.An iceberg for our penguin.

Insta-Snow, just add water, really.
Does it sink or float?


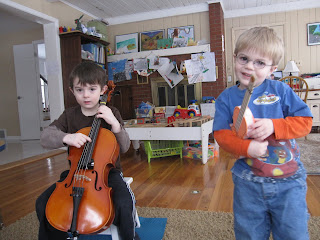
Playing with our homemade trebuchet.


Bowling at Pinstripes. (I heart that place! You can't beat their price and the comfy leather couches....at a bowling alley!)


::Notice the disturbed look on Dylan's face as Logan got yet another strike. Poor Dylan didn't get a single strike.::


Saturday, January 9, 2010

Practice Pack

I am ecstatic to have a good start on Practice Packs for the kid's cello and violin lessons! Throughout my years teaching violin, I have used many different systems to get my students to practice, but nothing was quite working how I wanted. It wasn't until I went from being a Suzuki Teacher to a Suzuki Mom that I realized how important it is to have everything laid out for you AND the student.

I used a double lapbook with a pocket for extra storage of games.


This is the main page for every day's practice. The songs and activities on left are laminated and backed with 3M hook and loop dots. After the student completes activity, he/she moves it to the check marked side. When you get to the review card, the student picks one of his/her previously reviewed pieces from the Review Box below. So each days practice is completely customizable to what the student needs THAT DAY!


After something has been reviewed, the card goes to the pocket next to it. When the review box has been emptied, you move everything back and start all over. This way you are consistently reviewing all the material and techniques.

Here is our fish review game. On the back of each fish are the same activities as in the review box, just a different format.
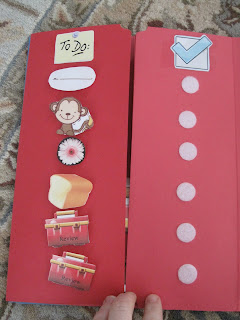
Here is a re review game for the pocket.

Tuesday, January 5, 2010

INSTA-SNOW....just add water!


I kept wanting to bring real snow in the house and let the kids use their Arctic animals in it, but that didn't go over so well last year. Freezing hands, melting snow.....you get the picture. Thankfully, Aunt Trisha gave the boys Insta-Snow for Christmas. This "snow" looks like the real deal and is much easier on the hands. To make the snow, you add water to the Insta-Snow powder and watch it grow! If you add the right amount of water fast enough, you can make an exciting eruption. (Which we did.....over and over and over again.) Ready for the best part? Once it dries out, you just add more water and do it again. Good Stuff!


We also made an iceberg this week to go along with our sinking and floating unit study.


Sunday, January 3, 2010

"Stained Glass" Window with Crayons


We have been having so much fun making crossbows, trebuchets, catapults, costumes and castles (whew) for our Kings and Queens unit study that this almost scratched this project off of our list. Thankfully, icy roads and freezing temperatures, had us locked up in the house so we were able to make this pretty faux glass window. It is nice balance to all of the weapons we have been making!


You need:

Some sort of picture with simple lines

Card stock

Old crayons

Wax paper

Grater (I wish I had used a crank cheese grater)

Iron (sad to say, it took me 30 minutes to FIND my iron. I don't think I have used it since I had kids!)


First draw your shape onto card stock. (I wish I would have then made a copy of the pattern to that it would be easier to piece together later) Then cut the pieces apart to make a template for each section of the window.


Next, get to peelin' and gratin' those crayons. That was really the most time consuming part of the project. Luckily, I have two willing assistants.

Dump the crayon shavings onto a piece of wax paper.

Fold the paper in half and iron until the wax melts. All the directions I have seen say to use a low setting. I cranked it up as I as a I could. What can I say, patience is not my best quality when it comes to crafts. Isn't that pretty?

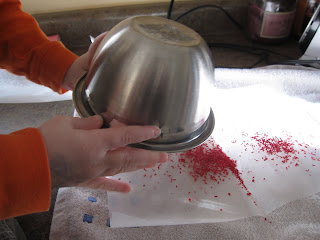
Finally, copy the template onto your wax paper and then cut out your pieces of "stained glass." The prettiest way to finish this project is to glue small strips of black paper to secure the pieces to one another. We just used some good old fashioned scotch tape!

For more We Made It Friday, check out Ramblings of a Crazy Women.